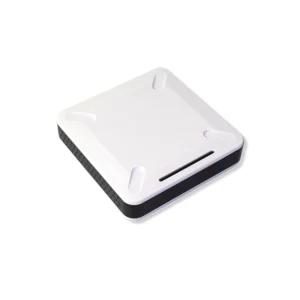
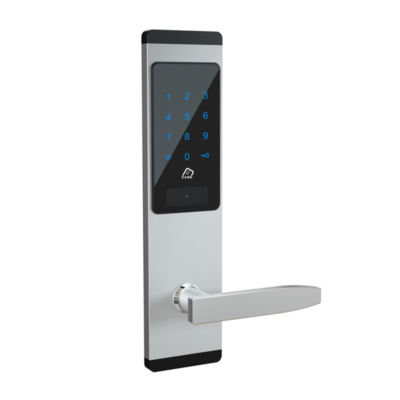
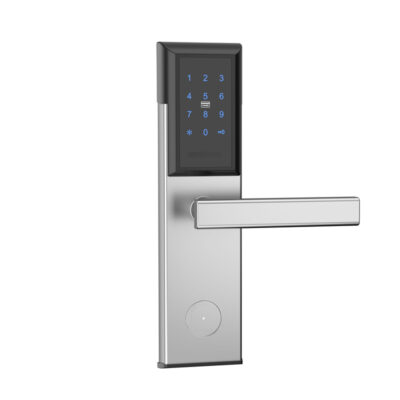
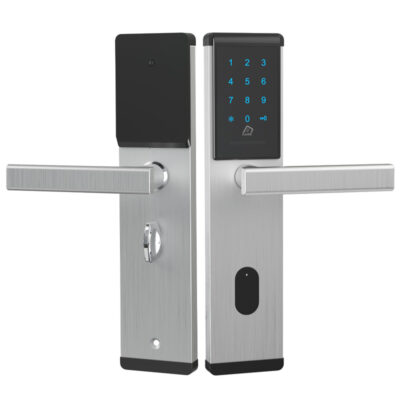
This system use Password Locks to serve the hotel guest, guest can choose to use traditional IC card to unlock, or use password to unlock. it is a good option for hotels that want to do a contactless check in without using self-check-in machine, password can generate and send to guest in advance or by PMS system.
Server Software is the back-end of the system, the core of the door lock management. All Data store on the server, and hotel staffs/PMS link to the server to work together.
We provide 3 different options, Windows installation, Linux Installation, or you can order our pre-load server, which can directly open to use.
First Obtain the installation file from vendor, which would be a Zip File.
You can Extract it directly with Windows file manager program. Double click the file to open and copy them to a desired location or right click then extract it.
Once extract the file, you will see there would be 4 exe files in folder:
After the system install to your computer, you can start up the door lock server from start menu, Program name is “HTLock”
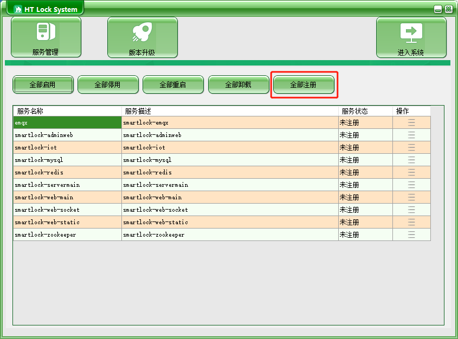
You will need to click the last button on the second line, to register the system to windows service.
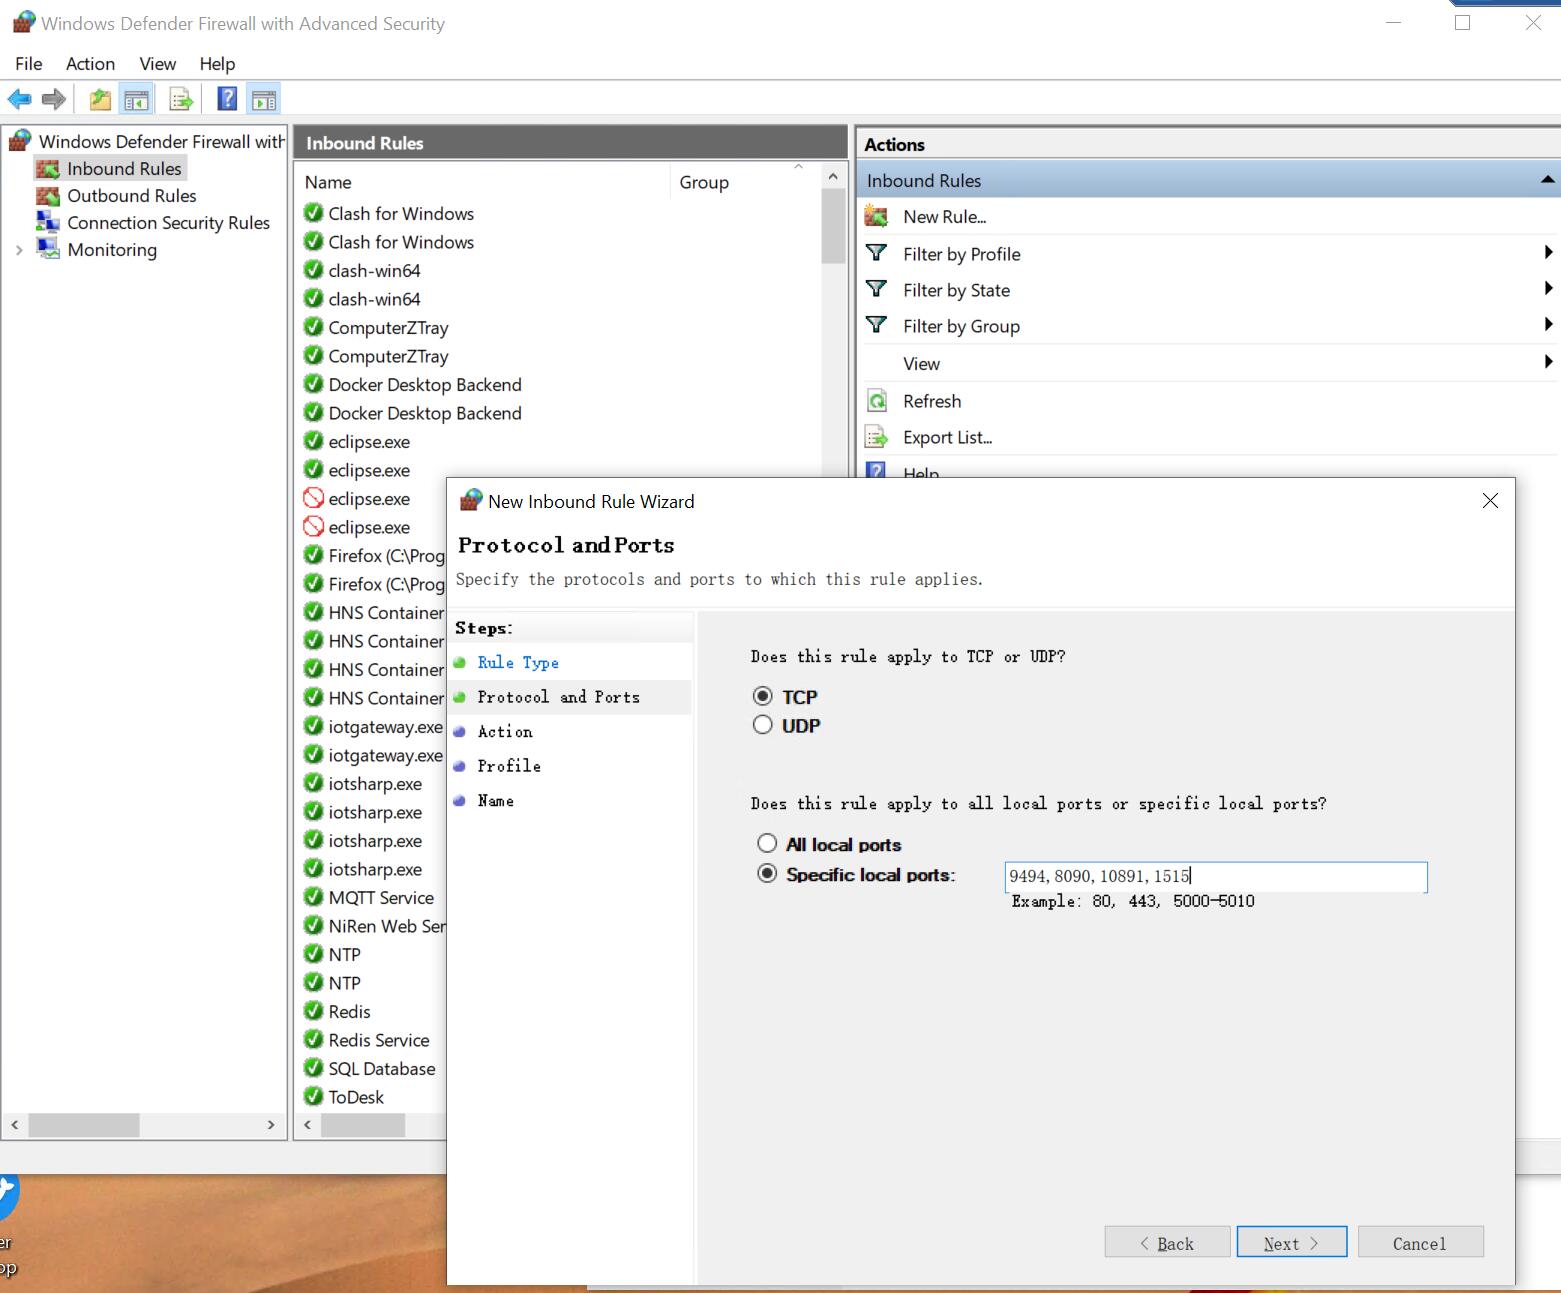
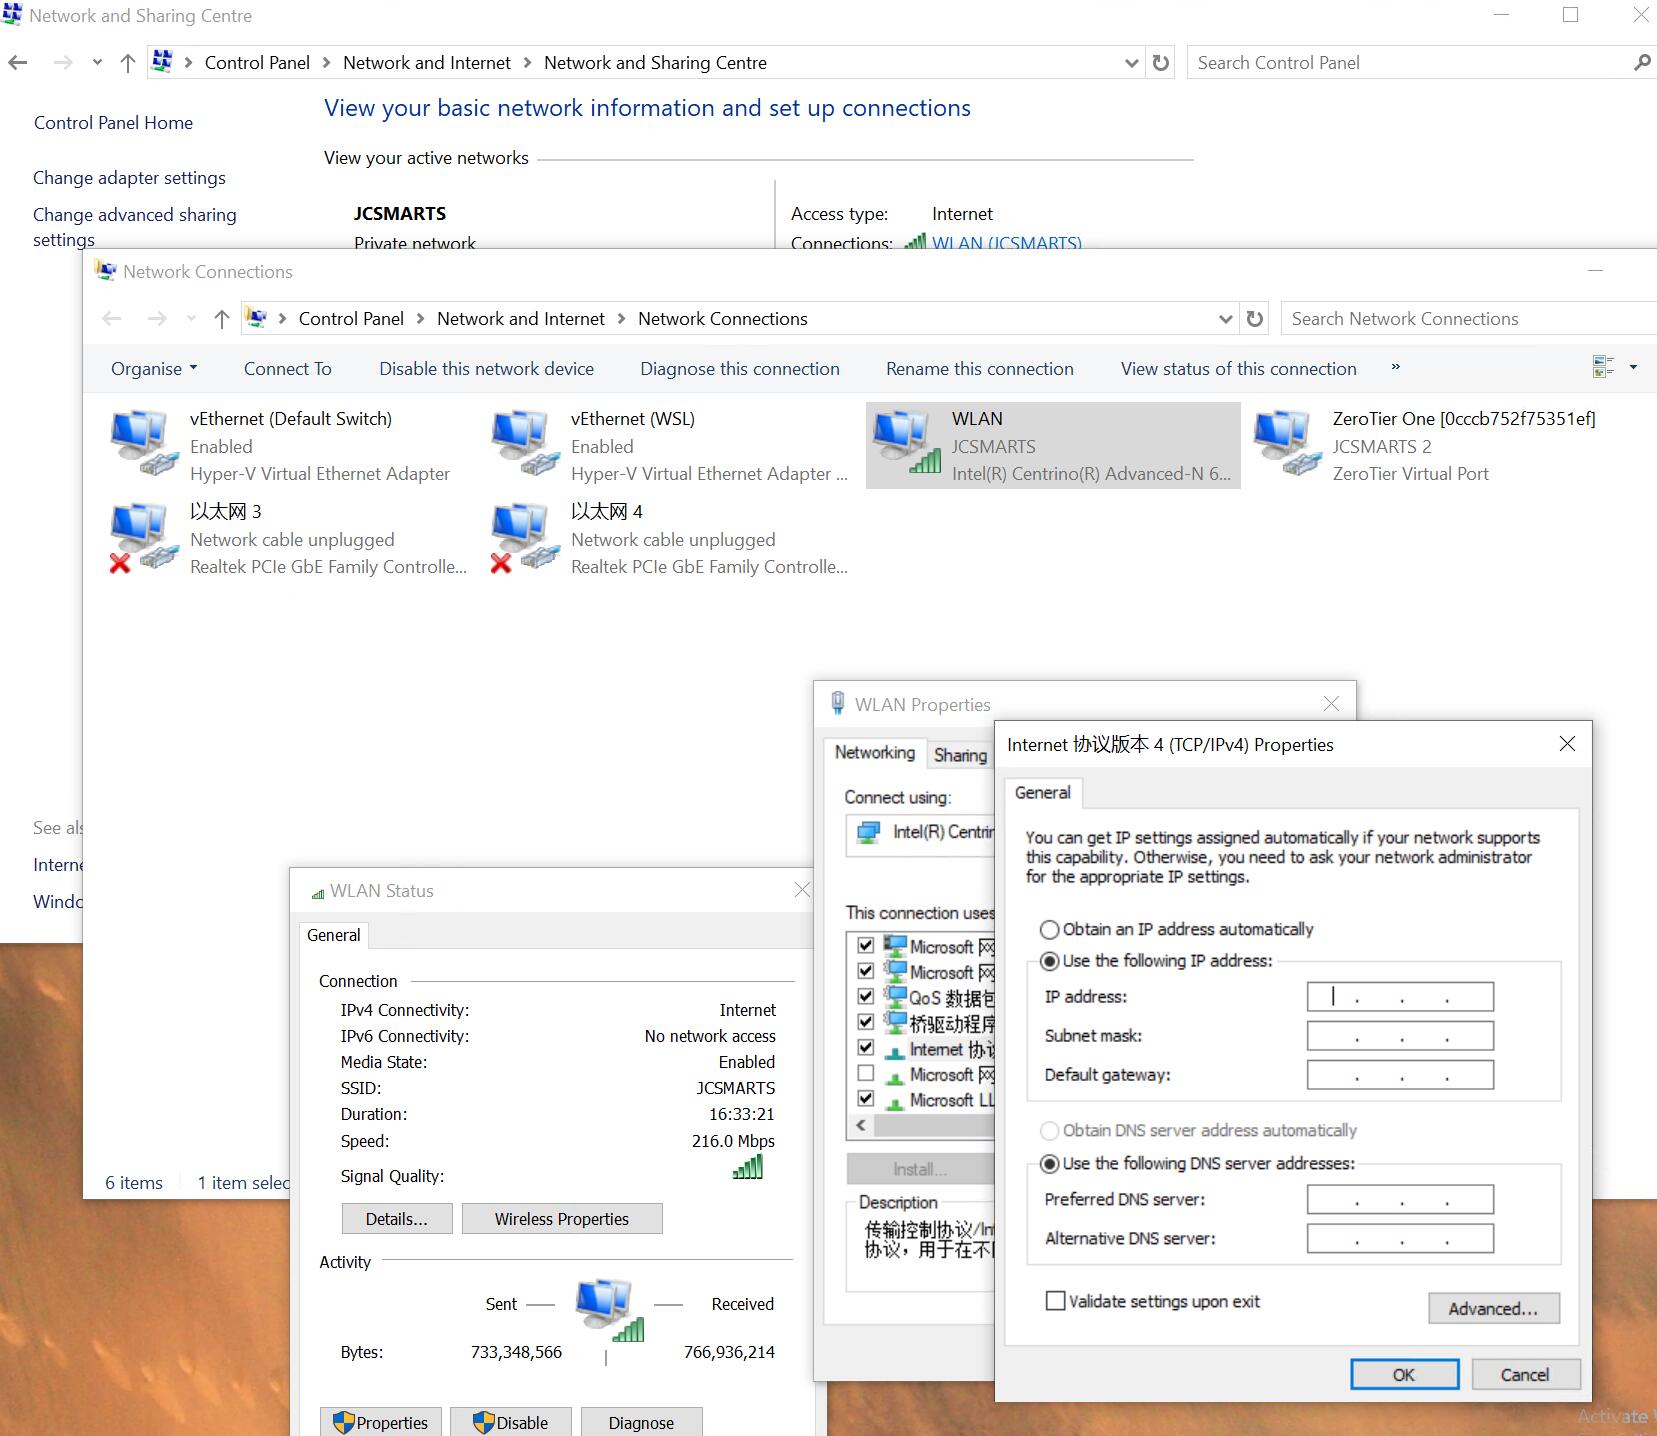
Once system up, you will need to configure 2 inportant things on your windows server to allow other device and endpoints to connect to the central server:
<1> Open these ports on windows defender firewall: 9494、8090,10891,1515、3306
<2> Set Static IP to windows, this will make sure every time the core system reboot it remains the same location on the network.
For Linux Server, Support CentOS, Ubuntu,Rocky, Kylin are supported.
Below Example is by Ubuntu, other installation is simillar. for a more detail guide on command line, you can also review this article.
First Obtain install file from vendor, it will be a zip file, we will move to tar file to reduce extra software requirement.
The second step is to copy this file to your server, either by USB Disk or other file transfer method.
An example for using usb disk to move it to ubuntu server with command line.
Locate the USB disk ID
sudo fdisk -l
System will list the disks, look for the one that matching to your USB disk, for example, below is a 8GB USB disk, we will use its ID /dev/sdb, you will need to add sequence 1 to the sdb:
Disk /dev/sdb:7412 MiB *************
Disk mode: USB Flash Drive
**************************************
Mount USB disk to a folder(folder can be make by command[sudo mkdir ~/usb]):
sudo mount /dev/sdb1 ~/usb
Copy file from USB to home folder, please change file name accordingly:
cp ~/usb/v3.1.0_CentOs_Rocky_Ubuntu_Kylin_20240313.zip ~/v3.1.0_CentOs_Rocky_Ubuntu_Kylin_20240313.zip
This step takes after the copy step is because moving a zip file will be more faster than moving a folder with multiple simall size file.
we use command line and unzip for example, for desktop users you can move and exract by mouse click. Please replace apt to your system command (eg centOS use yum)
sudo apt update && sudo apt install unzip
Excute extract command:
unzip -d installfiles v3.1.0_CentOs_Rocky_Ubuntu_Kylin_20240313.zip
Get into the filder
cd installfiles/v3.1.0_CentOs_Rocky_Ubuntu_Kylin
Make the script excutable:
sudo chmod a+x install.sh update.sh
Run Installation command:
sudo ./install.sh
The System need to set static IP to allow encoders, gateways, receptionist and PMS to connect, please read this document.
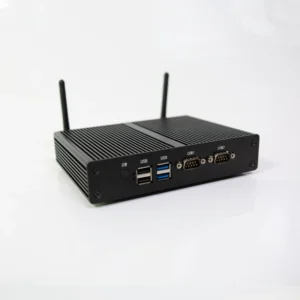
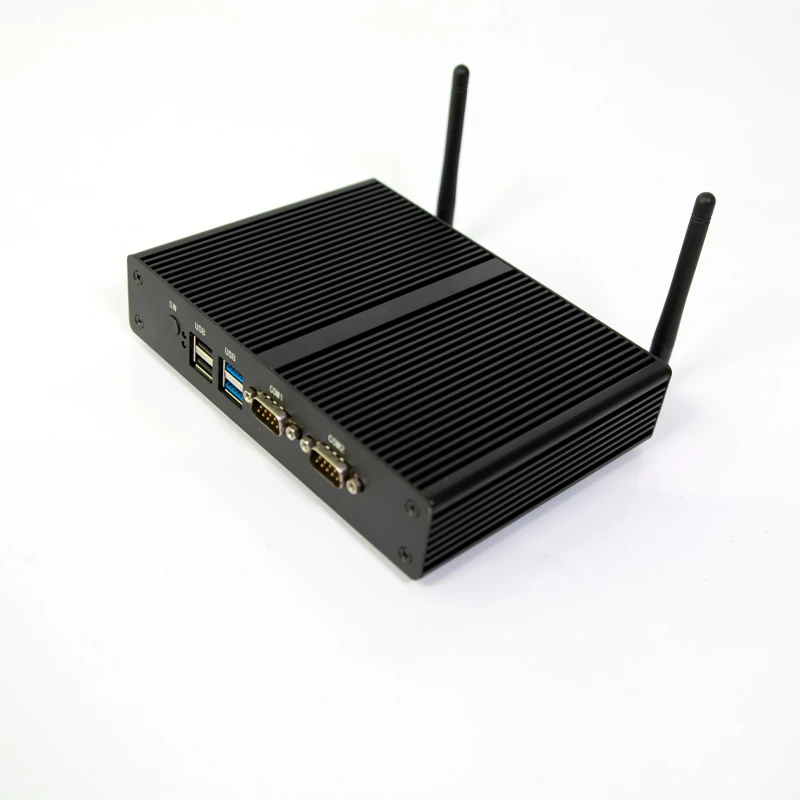
We provide a ready to use Mini server. Hotel can purchase from our vendors directly and deploy it. It is small size and easy to use , the hotel lock system is already installed to it. The hotel only need to set static IP and load account file to use.
To set Static IP, link monitor and keyboard to it, log in via user name htlock.
Identify network interface:
ip -a
The server has 3 network interface, 1 WIFI and 2 Ethnet, pick the one that already link and start to write its configuration file:
sudo nano /etc/netplan/99_config.yaml
Write the file.
replace the enp2s0 to your interface, and change IP according to your desired ip address, change the via ip to your gateway IP, name server(DNS) according to your name server request.
network:
version: 2
renderer: networkd
ethernets:
enp2s0:
addresses:
- 10.0.0.130/24
routes:
- to: default
via: 10.0.0.1
nameservers:
search: [mydomain, otherdomain]
addresses: [10.0.0.1, 1.1.1.1]
To save and exit in the nano text editor, press Ctrl + X, then type Y, and press Enter
Once the server deployed and IP set, log in the user interface via a web browser
http://[server ip]:1515
For example we set server ip to 10.0.0.100, so we will use http://10.0.0.100:1515 to access, remember the prefix is http, not https.
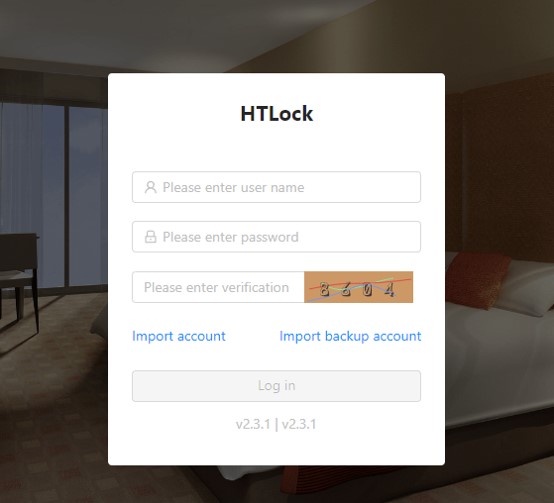
Once the LOGO and hotel name set, system will lead to the log in interface. for the first time you will need to obtain the account file from vendor to import into the server.
Click import account, select the account file and upload, once finished, you will be able to login with the account and password provided by the vendor.
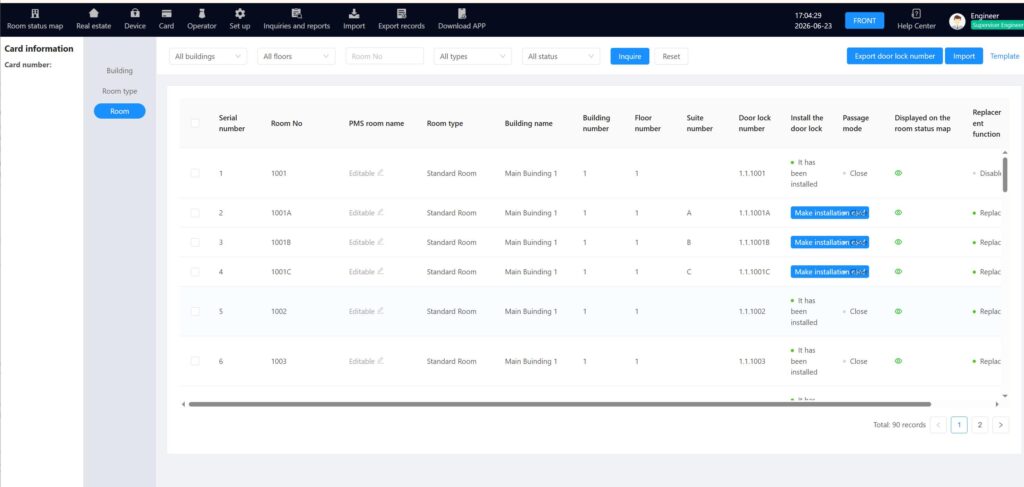
Once you get into system, you are ok to set the room numbers according to the real estate.
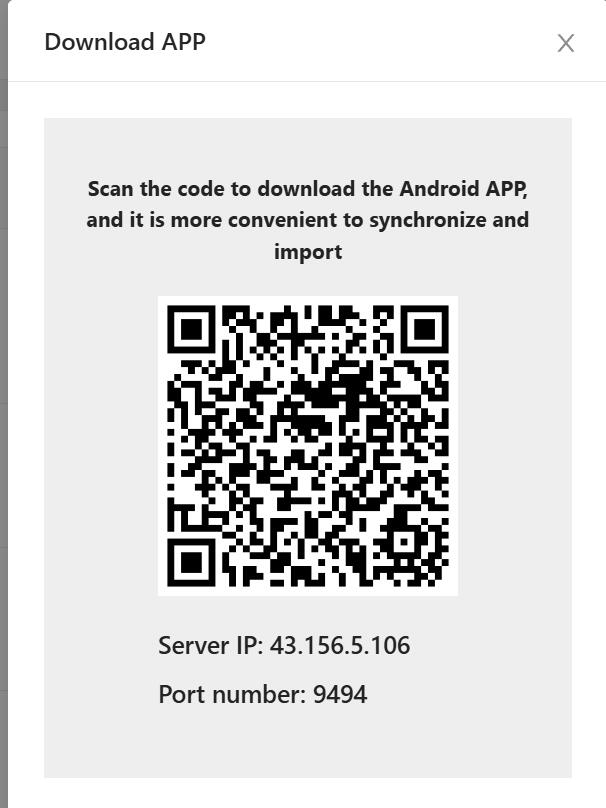
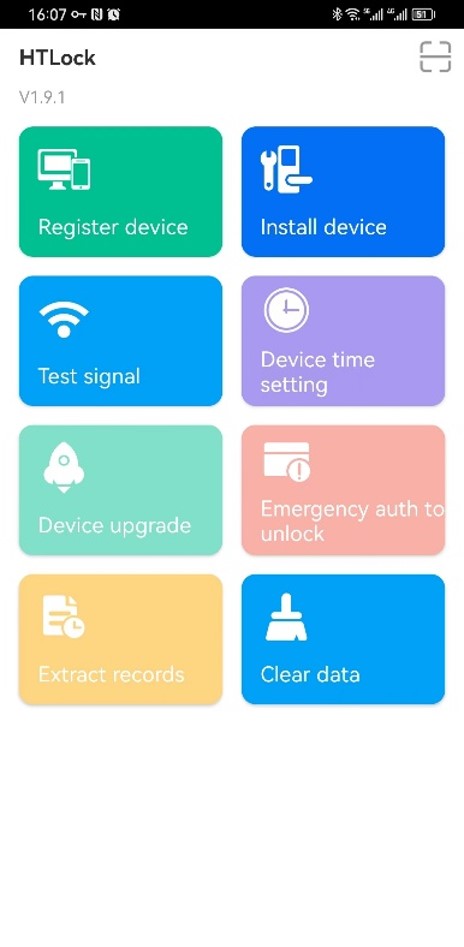
Please prepare an Android Phone to download the APP, we will use the APP to install the encoder, and for other devices.
APP can download from Download APP Menu of the System top bar
Encoder is the Key device of the system, it is the device to make the card, and the device to link to phone APP to do data sync and information download & upload.
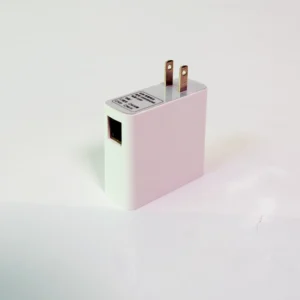
Encoder installation request Power supply and LAN cable, usually it is place on top of the front desk of the hotel, thus please reserve a LAN cable to this location. The encoder comes with AC-DC power adapter, so a AC socket must be available for it.
Below are detail steps, please click to view Details
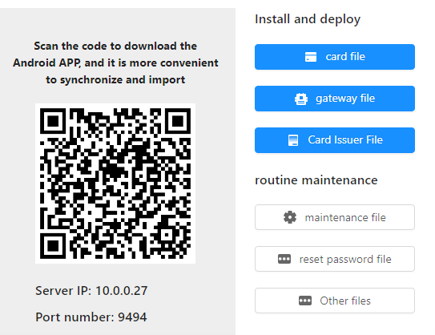
Use the import menu to import an Encoder File, file can obtain from the vendor.
For installation, please make sure the Ethernet cable is not connect to the encoder, this will make the encoder to enter setting mode once power on.
Plug the power cable to the encoder, once it boots up, follow next step to operate on phone APP.
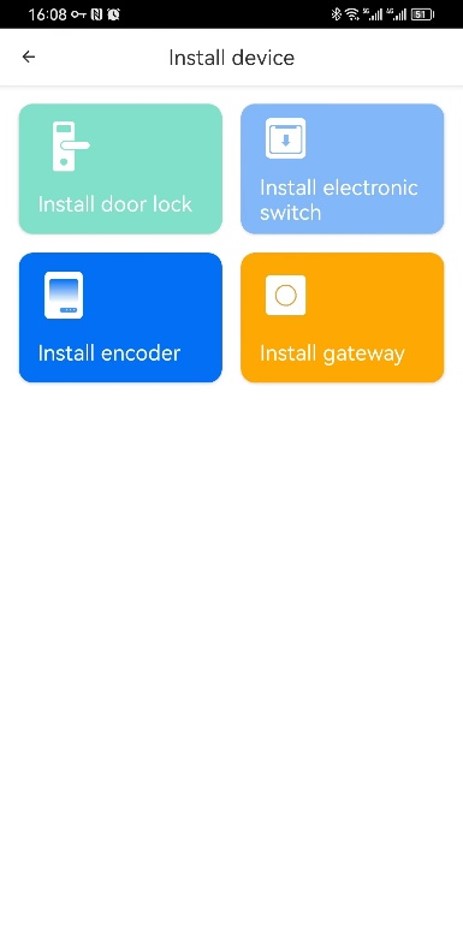
On APP, choose to install device, install Encoder, then scan the QR code of the Encoder, it is on the button side of the encoder.
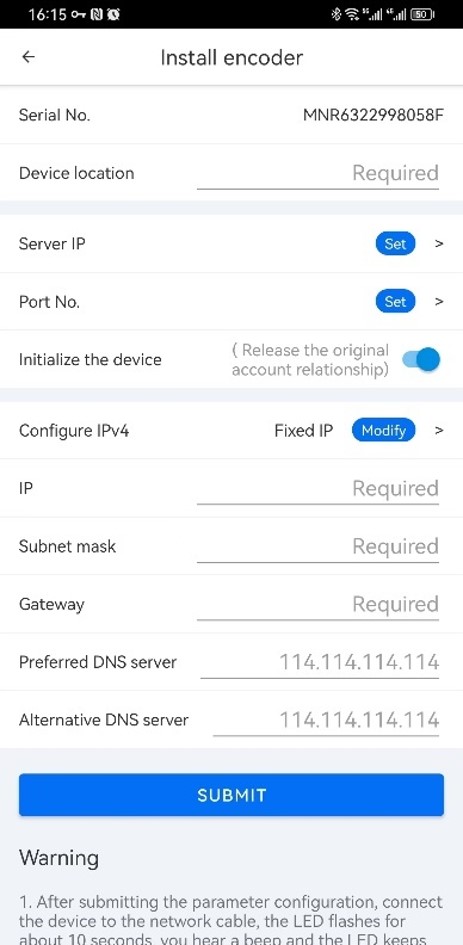
Once Encoder Scanned, the APP will jump to information form to setup. Name the encoder, and Fill Server static IP we had set in chapter 2.2, port number will be 9494.
The IP settings please choose to obtain from gateway/router, or set according to your network setup.
Once filled, tap “SUBMIT”,APP will link to encoder to set up.
Once The APP finished uploading setup information to the encoder, APP screen will jump to a page to ask you to connect the Ethernet cable, please plug the cable to finish the installation.
LED of encoder will stay in blue once it link to server.
The Door Lock use IC card to unlock, and have different hardware styles for choose. And for Installation, we provide 2 different options:
To install door locks via card, it is a simple way, and do not require extra device.
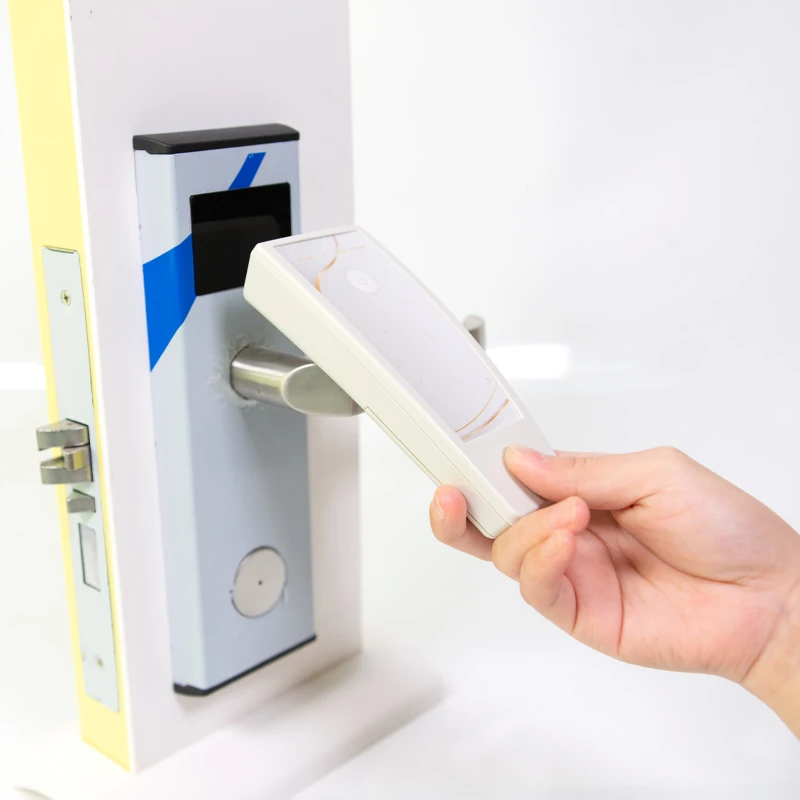
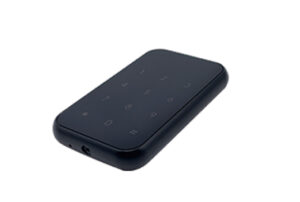
Handset is an optional device, it can use to install door locks quickly, simulate Master card to check lock information.
To install door lock with the handset, First ,please scan the QR code of the encoder and download all informations to the phone, and then follow the below Steps:
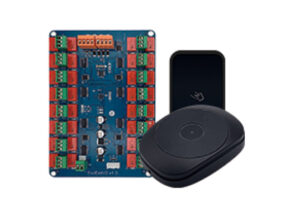
Below Device will be needed to order for this system to work.
These device are optional, to provide extra features to the system and management.
For making Password for guest, there 2 different options
On this option, the system can work direcly with server, encoder and lock.
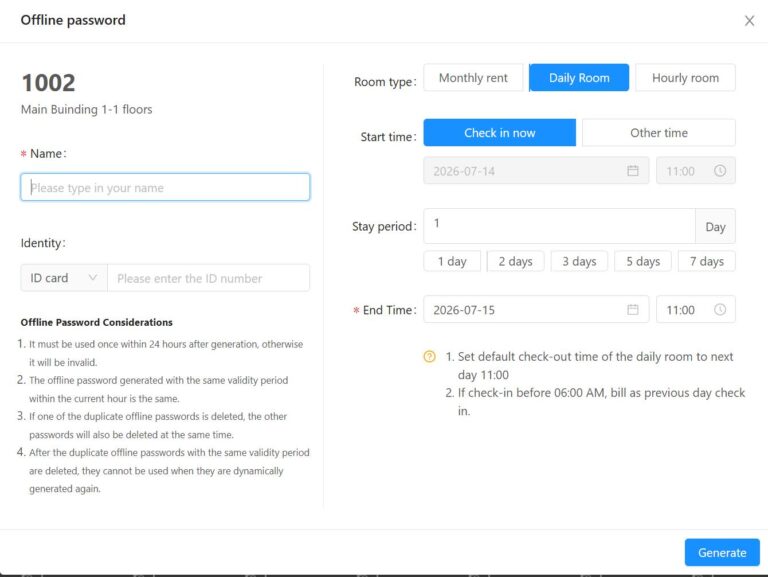
Password will be generated by the system it is a random password. Once it was made, you can send it to guest to use directly.
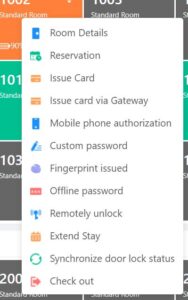
To issue the password, Right click on the room, Choose Offline password, system will call up a check-in form specialized for offline passowrd.
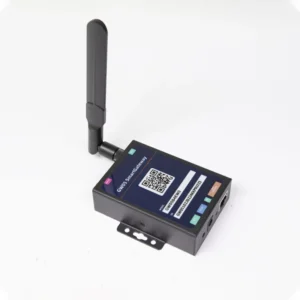
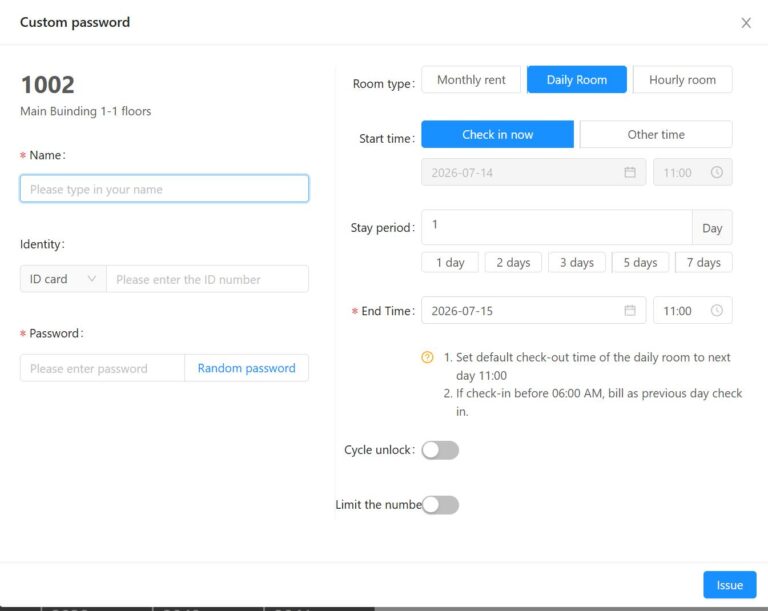
in this Option, a Gwateway is must, and the lock need to bind to the gateway.
The password is available to use any password as you want. This password will be sent into the lock by the gateway.
This method makes it availble to extend stay without changing the password itself.